Flash drives are common storage devices, ranging in capacity from small to very large. Flash drives provide mobile storage for documents, music and video files. They also make great backup storage devices. Files downloaded from the Internet, such as videos, can be transferred to a flash drive, but the process may vary depending on the website the video is transferred from.
Using Firefox and Video Download Helper
Step 1
Start Firefox and click “Tools,” then “Add-ons” on the menu bar. If the menu bar does not appear at the top of the browser window, press "Alt" to display it, then click Tools. In some versions of Firefox, there may be a Firefox tab in the upper left corner with an Add-ons drop-down menu. Alternatively, you can access the Add-ons page by typing "about:addons" in the address bar and then pressing "Enter."
Step 2
Enter the name Video Download Helper into the search box.
Step 3
Click the "Install" button next to the Video Download Helper link on the search results to display its download page. Wait for Firefox to download the plugin to your computer and prompt you to install the add-on.
Step 4
Click “Install Now” when prompted, then click “Restart” to close Firefox and restart it.
Step 5
Navigate to the webpage featuring the video you want to download and wait for the browser to begin loading the clip in the player. After a few seconds, a balloon icon displays in the status bar at the bottom of the browser.
Step 6
Click the balloon icon to launch the Video Download Helper add-on and begin downloading the video to your computer. By default, the Video Download Helper downloads and saves videos to a folder named "Video Download Helper" in the My Video library. You can change the default download folder by clicking the "Options" button for the Video Download Helper add-on on the Add-On page in Firefox.
Using Internet Explorer and FlashCatch
Step 1
Launch Internet Explorer and navigate to the FlashCatch website (link in Resources.) Download the FlashCatch Internet Explorer plugin and save it to a folder on your computer. Close Internet Explorer.
Step 2
Click Start, then “Computer.” After Windows Explorer opens, browse to the folder where you saved the FlashCatch plugin. Double-click the setup file to launch the setup wizard, and follow the on-screen instructions to install FlashCatch. Restart the computer if prompted.
Step 3
Restart Internet Explorer and navigate to a webpage that has a streaming video you want to save. After the video starts to load in the browser player, a FlashCatch pop-up window appears.
Step 4
Click the “Download” button in the FlashCatch pop-up window. Select a folder in which to save the downloaded video, then click the “Save” button.
Downloading Videos Without a Plugin
Step 1
Navigate to the SaveVid website (link in Resources.)
Step 2
Open a second tab or window in your browser, then open a webpage that streams a video you want to download.
Step 3
Click in the “Address Bar" or "URL" field. Double-click inside the Address Bar or URL field to highlight the entire URL address for the webpage that streams the video. Press "Ctrl-C" to copy the URL address to the Windows Clipboard.
Step 4
Click the tab or window displaying the SaveVid website. Click the text box labeled "URL," then press “Ctrl-V” to paste the video webpage URL address in to the field.
Step 5
Click the “Download” button on the SaveVid webpage to launch a thumbnail image and description of the video to download.
Step 6
Click the "Run" or "Run This Time" button in your browser if prompted to update the browser's Java plugin and reload the page.
Step 7
Click the "Download" button again. Select a folder in which to save the video and click "Save." Your browser downloads the video and saves it in the selected folder.
Transferring your Video to a USB Flash Drive
Step 1
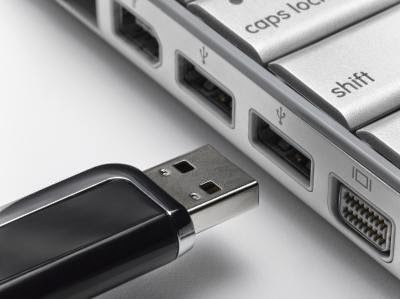
Connect your flash drive to an unused USB port on the computer. Wait for Windows to display the AutoPlay window.
Step 2
Click "Open Device to View Files" to open a new Windows Explorer window displaying the contents of the USB flash drive.
Step 3
Press "Ctrl-N" to open a second Windows Explorer window, then browse to the folder where you saved the downloaded video. Double-click the folder name to open it and display the downloaded video.
Step 4
Click the filename for the video, then press "Ctrl-C." Click the Windows Explorer windows displaying the files and folders on the flash drive and press "Ctrl-V" to copy the video from the computer to the USB flash drive.
Tips
If you don’t want to store the downloaded video on both the computer and USB flash drive, cut and paste the file instead, using "Ctrl-X" to delete the video from its Windows Explorer location, then "Ctrl-V" to paste it into the USB flash drive.
Warnings
Downloading or copying copyrighted music or videos is illegal. Download and share videos only if you have permission.
References
Flash Video Resources: Downloader - Firefox Extension Now Available
FlashCatch: Frequently Asked Questions
SaveVid.com: FAQ
Resources
FlashCatch: Free Download
SaveVid.com: Download Online Videos