I can't find Media Coder for Mac OS X. If MediaCoder doesn't work for Mac, then is there a similar application that is compatible with Mac OS X? Read this article to get the MediaCoder Alternative Video Converter here to convert video on Mac with high video quality.MediaCoder is an audio/video batch transcoder, putting together lots of excellent audio/video codecs & tools from the open source community into an all-in-one solution. It's capable of transcoding among different audio/video formats with many extra features. MediaCoder supports all typical video and audio formats, plus support for containers include AVI, MPEG-1, MPEG-2, Matroska & MP4.
But the developer team has NOT release a MediaCoder for Mac version, then, what is this amazing tool can offer you all video solutions are on your Mac computer? Here, we highly recommend you to try Pavtube iMedia Converter for Mac, which works as the best alternative of MediaCoder for Mac. With this best Video Converter and Editor for Mac, users can finish SD/HD video converting and editing process with fast speed and high video qualtiy. No need to install multiple MediaCoder for Mac programs any more.
Get the program with 20% off now at Pavtube Christmas Big Promotion!
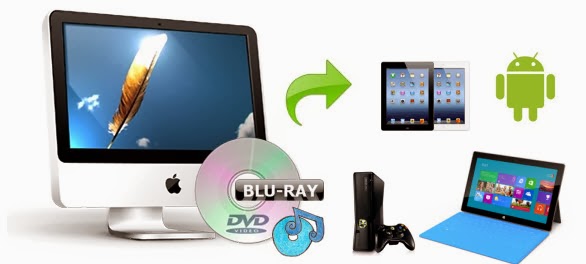
This app offers an easy way to transcode virtually all video and audio types, camcorder HD footages and TiVo recordings to desired video/audio format for portable multimedia devices, HD media players or video editing software, such as:
* Devices: iPad Air, iPad Mini 2, iPhone 5S, iPhone 5C, iPhone 5, iPad 4, iPad 3, iPad Mini, iPod 5, etc.
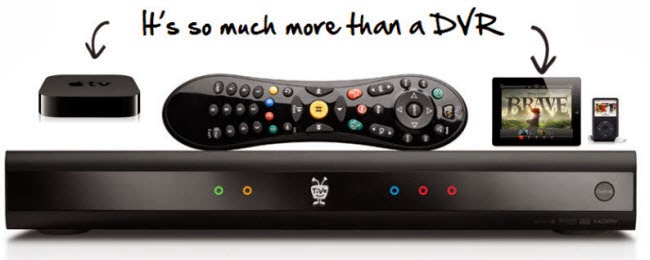
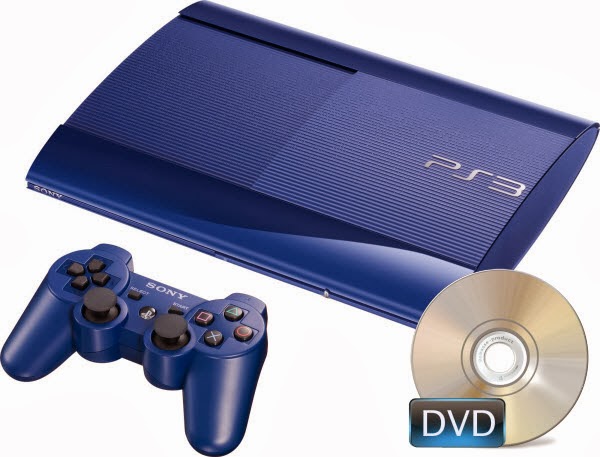
*Players: Apple TV 3, WD TV, PS3, Xbox 360, Popcorn Hour, Xtreamer Ultra, Dune HD Base 3D, Iomega ScreenPlay MX HD Media Player, NETGEAR NeoTV Max Streaming Player(NTV300SL), Asus O!Play Mini Plus, etc.
* Video Editing Softwares: FCP, iMovie, Avid Media Composer, Premiere Pro, etc. Plus, you are allowed to freely customize and personalize the conversion files through its settings and options in order to get an individual output in your own way.
Not all video tools like Pavtube iMedia Converter for Macoffer so many video editing options in this full-features and powerful video converter. It edits videos by trimming, cropping, splitting videos, add text/image/video watermark as copyright protection, and attach external *.srt, *.ass, or *.ssa subtitles into source media for entertainment. Support perfect audio and video synchronization.
The conversion speed is very fast and it supports batch conversion. It converts multiple video clips at the same time, moreover it can shut down computer after the process is complete, so run the app overnight and you could enjoy the created videos next morning when you are up.
Free Download the Mac Version here ( Note: Please download a dmg file for Mac OS X 10.5 Leopard users.)
Tutorials: Converting Video/Audio on Mountain Lion an Mavericks with ease
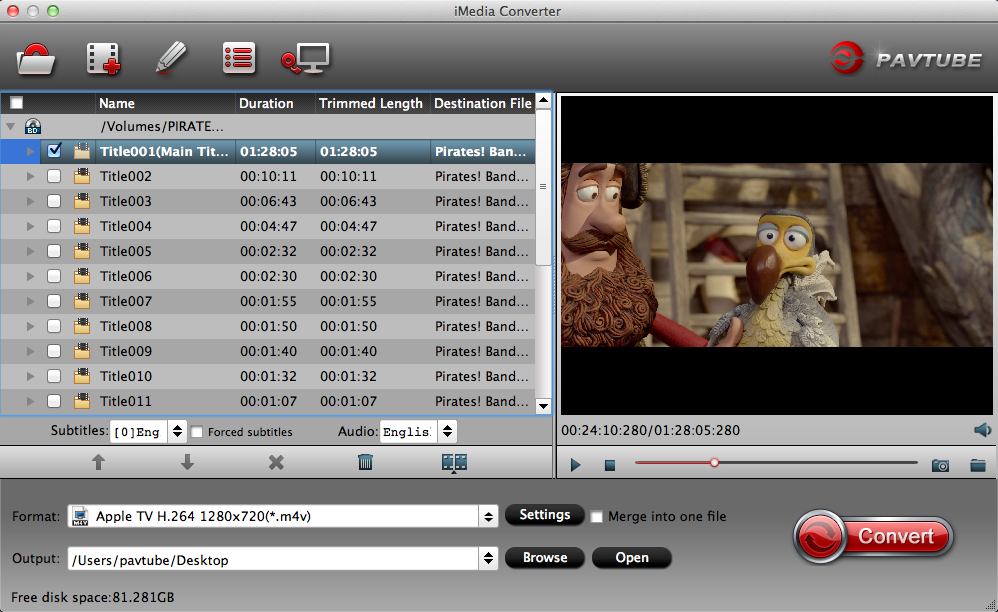
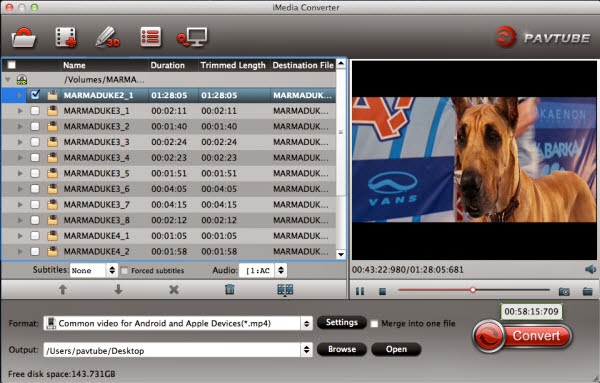
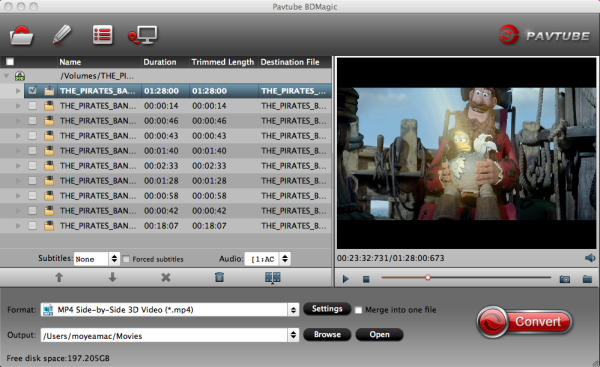
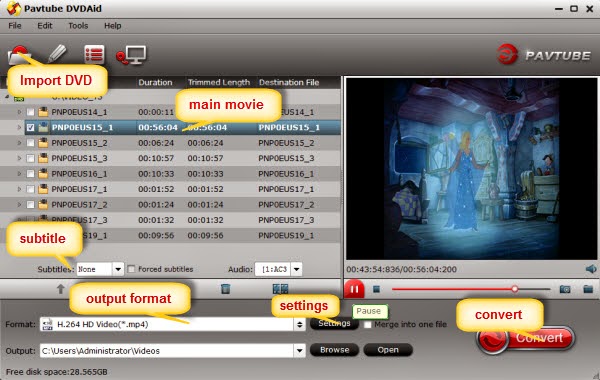
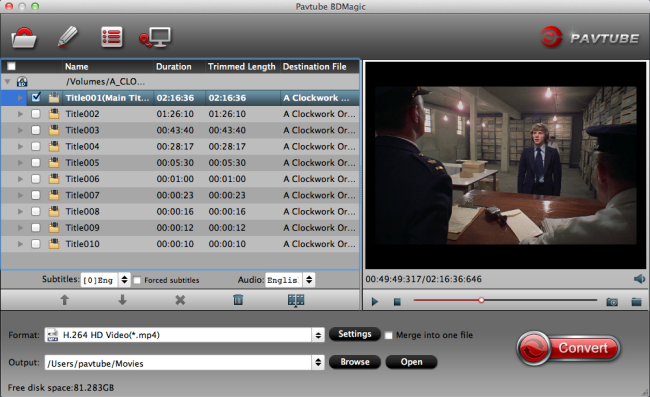
Step 1: Load video files to this MediaCoder Converter for Mac Alternative
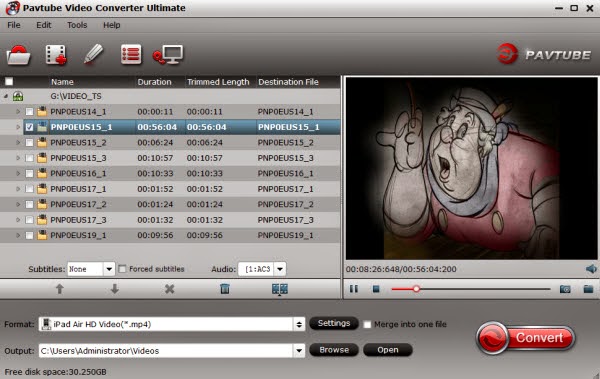
Download the Pavtube Video Converter for Mac on your computer, install and run the program, add videos.You can choose to import videos or the entire folder by clicking the top left two icons.

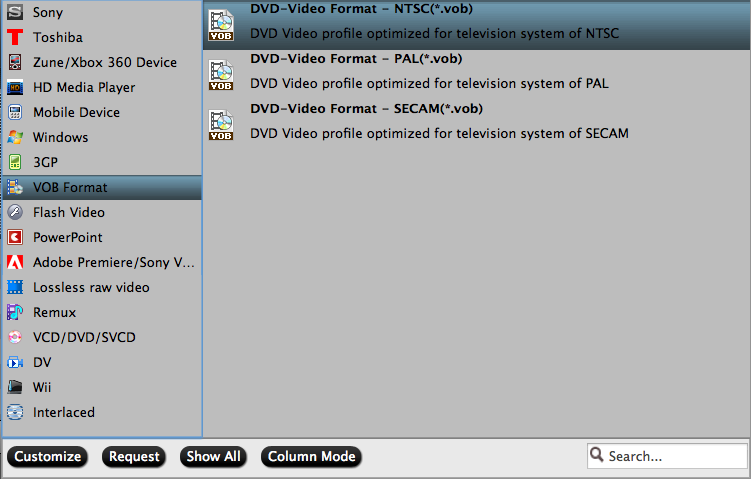
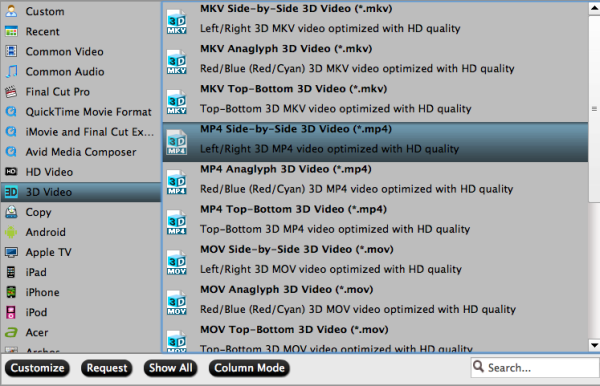
Step 2. Choose a proper format.
Click "Format" drop-down list and choose the best preset for you portable device with best video quality. Plenty of presets that can be customized as necessary.

For iPad 3, iPad 4, iPad Mini, iPad Air or iPad Mini 2, the video formats from "iPad" option will meets your demand;
For iPhone, iPhone 4, iPhone 4S, iPhone 5, iPhone 5C, iPhone 5S, the preset from "iPad" option is able to work well.
For those who in demands of playing videos on Android devices, you can always find the one you want in Android preset.
Step 3. Customize video specs(Optional).
You could also click the "Settings" to adjust the video and audio parameters of output files.
In the Video Settings, you can select Encoder, Frame Rate, Resolution (you could define it yourself according to your device) and Bitrate for your movie.
In the Audio Settings, you can select Encoder, Channels, Bitrate and Sample Rate for your movie.
Step 4. Start Videos Conversion on Mac.
You can hit the big red "Convert" to start converting MKV, AVI, VOB, WMV, MPG, Tivo, M4V, FLV, F4V, MTS to MP4 with best video settings on Mac. After the conversion, click "Open output folder" in the conversion window, or "Open" in main interface to quick locate the converted video.
Now, you can transfer these videos to your portable Android/Window 8/Apple device on Mac for smooth playback without any problem. Enjoy your digital life!
MediaCoder for Windows Alternative
Pavtube Video Converter Ultimate has also Windows version, featuring the same functionality with Mac version. Like the Mac version as better equivalent than MediaCoder for Mac, it's the all Windows solution alternative to MediaCoder for Windows XP/2003/Vista/Windows 7/Windows 8/Windows 8.1.
Tips:
If you have Blu-ray\DVD disks and other video clips, Pavtube Video Converter for Mac for is not enough, you should refer to Pavtube iMedia Converter for Mac. This is an –all-in one program which is a great combination of Blu-ray\DVD ripping program and video converting product as well. Great news, Pavtube iMedia Converter for Mac is on sale to celebrate Christmas's day, total 20% off! Just check it out.
Related Guide:
Get the Best Handbrake Equivalent for Win/Mac
iMovie Alternative for Mavericks: How to Edit Videos on OS X Mavericks
WinFF Alternative for Mac: Convert Any Video or Audio Files on Mac