Good new for you! 2013 Christmas is around the corner! To celebrate the coming Christmas Day, Pavtube launch Christmas Giveaway and Promotion 2013, you can get Free, Buy one get one free, Up to 66% off discount between Dec.10,2013 and Feb. 10, 2014. Never miss!!!
- Freebies and giveaway
- Buy one get one free
- $9.9 zone
- Share to get more
All can be found on
PAVTUBE CHRISTMAS PAGE NOW!
 Pavtube Studio
 has launched amazing freebies and specials more than ever! The hottest Pavtube programs are one sale right now: Blu-ray Ripper (Win/Mac), DVD Ripper (Win/Mac), Video converter series (Win/Mac) and the most popular all-in-one program: Pavtube Video Converter Ultimate & iMedia Converter for Mac. 20% OFF available now!
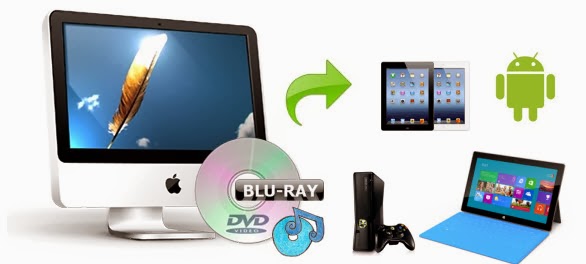
With this program, you can easily enjoy Christmas Blu-ray/DVDs movies on smartphone/tablets with family and friends; playback family’s Christmas memory video on computer &tablets &smartphones &other devices, or smoothly transfer your camera footage to editing program without any format problems, etc. All can be finished with this
Video Converter Ultimate (Mac version is renamed as
iMedia Converter for Mac)
Online user manual:
Windows:
http://www.pavtube.cn/blu-ray-video-converter-ultimate/user-manual-on-line.html
Mac:
http://www.pavtube.cn/imedia-converter-mac/user-manual-on-line.html
What are you waiting for? Make the specialist Christmas memory videos with Pavtube Software!
Video Converter Ultimate (Win) features:
1. Backup your Blu-ray/DVD discs for longtime preservation
Just bought some brand new discs and want to save it from your naughty kids? Pavtube Video Converter Ultimate offer two ways to lossless backup your Blu-ray/DVD discs:
a.) Full Disc Copy – make a 1:1 copy of your original disc; all the folders and description documents would be preserved. No compression, no quality loss, no audio track loss.
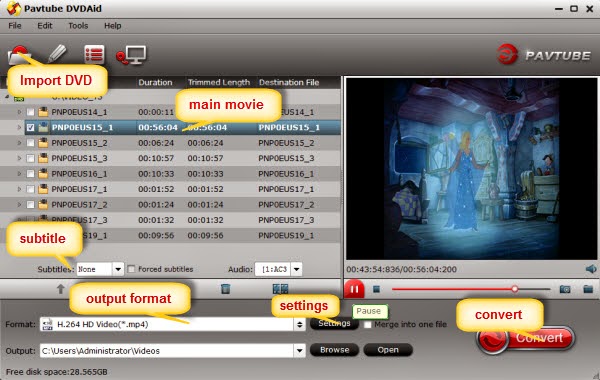
How to: load disc and click this icon directly:

b.) Directly Copy – only backup the movie itself; other info like art cover, film info, extras will not be save. You will get an intact M2TS/VOB file of the main movie. No compression, no V/A quality loss as well.
How to: load disc and select “Copy>Directly Copy” in format:

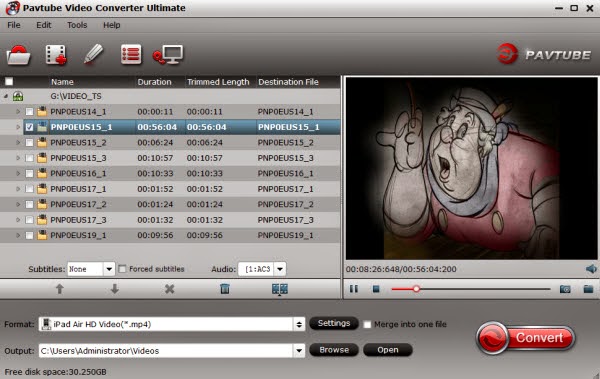
2. Transfer Blu-ray/DVD movies to smartphones, tablets, Xbox/PS3, etc.
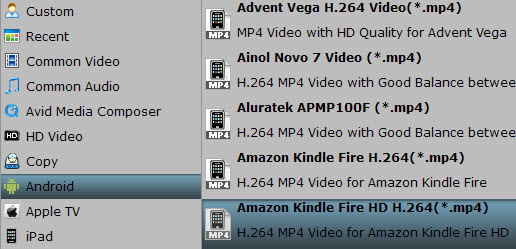
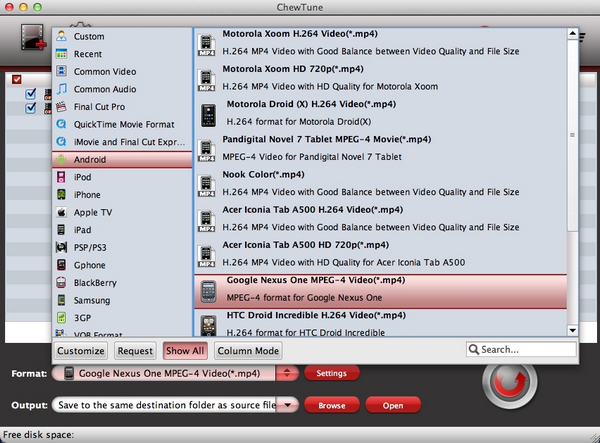
Want to play Blu-ray/DVD movies on portable devices? You don’t need to have every devices authorized. Try this Video Converter Ultimate and
convert your movies to best presets for different devices: iPhone 5S/5C/5/4S/4, Samsung Galaxy S4/Galaxy Note 2/3, HTC Desire HD, HTC One, Sony Xperia Z, Motorola Droid), on your Android tablet (including Samsung Galaxy Tab 3, Google Nexus 7/10, Amazon Kindle Fire HD, Fuhu Nabi 2, Asus Transformer Pad Infinity TF700); Apple iOS based (iPad Air/4/3/2/1/mini/mini with R) tablet, Windows tablet (like Microsoft Surface RT).
Plus, the Blu-ray and DVD movies can be imported from not only BD/DVD Disc, but also BD/DVD Folder and BD/DVD ISO image.
FYI: if you want to obtain multiple audio tracks after transcoding, try this
Pavtube ByteCopy.
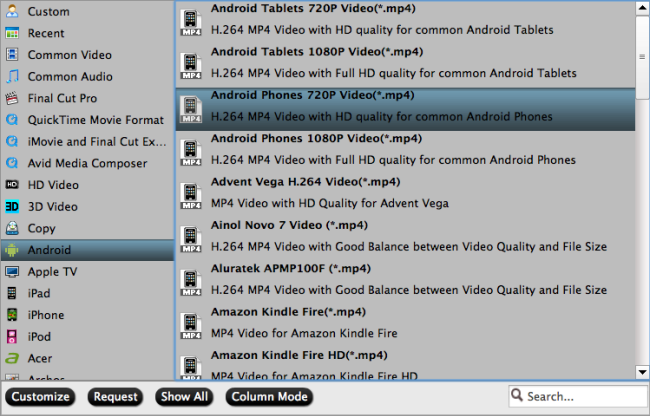
How to: load disc and choose preset from the column on left, or simply search for your device model:

3. Convert videos/footages to various video formats.
This tool support most mainstream video formats including a wide range of HD and SD video files, like MTS, M2TS, TOD, MOD, MOV, WMV, MP4, TiVo, FLV, some MXF files, etc that are downloaded online and recorded by camcorders, and convert them to AVI, MP4, WMV, FLV, RMVB, MPEG, 3GP, MKV, MP3, AAC, etc. for playback or editing.
Video Editor features:
1) Trim and crop DVD/Blu-Ray/video clips
Trim function helps you select wanted movie scenes to rip or convert at will and leave out unwanted in saved videos. Crop function enables you to cut off the black bars and unwanted area of the source movie easily.
2) Merge multiple video clips into one file
Tick this Merge into one file box and Pavtube application helps combine several selected video clips into one big file and convert it to your desired video format.
3) Split one large file into smaller pieces
Using the Split function, you can split the selected video file into required several smaller video clips based on the clip quantity, duration time or file you set up.
4) Add watermark
The program supports adding text, image and video watermarks to your movie and enables you to experience better video display quality on your devices.
5) Customize volume in saved file
With this feature, you are allowed to adjust the volume in BD/DVD movie before output to make sure you receive better video and audio entertainment.
6) Add *.srt and *.ass subtitles into video
Pavtube Video Converter Ultimate now supports adding *.srt and *.ass subtitle into video and merge them into video part. Note: Once you have merged subtitle text and video into one file, the subtitles would be hard subtitles and become a part of video, in other word, you cannot turn it on or off during playback.
How to: load disc/video, click the pencil-like “Edit” icon on the top to enter the video editor window.
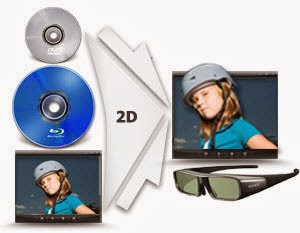
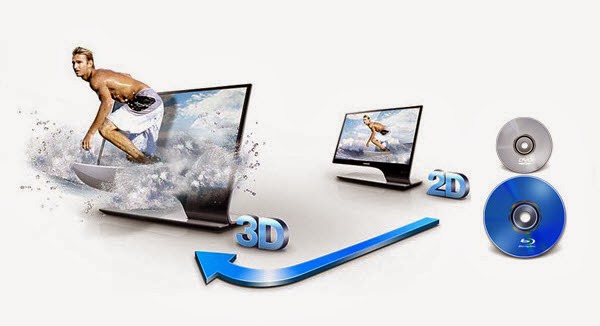
4. Convert to 3D videos for playback
Pavtube Video Converter Ultimate support outputting MKV/MOV/MP4/AVI/WMV videos in Anaglyph, Side-by-Side and Top-Bottom
3D effect for playback on 3D TV,
3D video projector, etc.
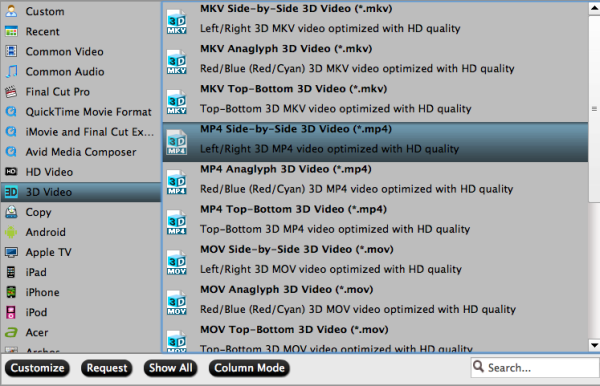
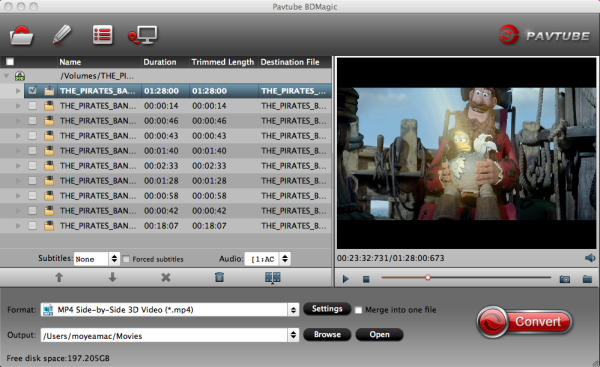
How to: click “Format” and select “3D Video” column, choose the wanted video format and preset. Adjust 3D depth in “Settings”.
5. 6X faster conversion speed
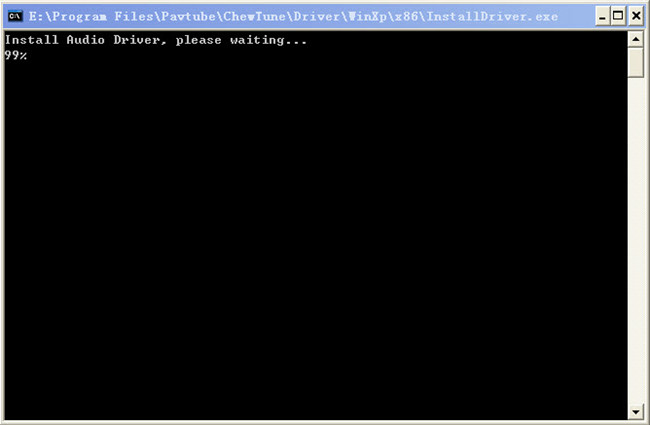
Pavtube Windows program takes full advantage of NVIDIA's CUDA technology and ATI Stream (AMD APP) technology to largely accelerate conversion speed. The GPU acceleration saves users lots of time when using H.264 codec to do format conversion. NOTE: To use GPU computing feature, a CUDA-compatible NVIDIA graphics card or an AMD graphics card with AMD APP technology must be installed. The CUDA and AMD APP acceleration both work only when creating H.264 encoded video files.
How to: press Ctrl+Shift+T, find the Acceleration tab. If your hardware meets the requirements above, the checkbox will be checkable.
 iMedia Converter for Mac features:
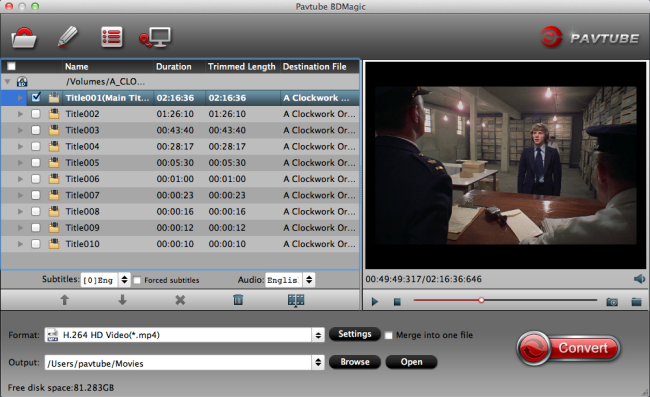
1. Backup/convert Blu-ray/DVDs
1:1 copy your Blu-ray/DVD disc & folder as all the Windows version can do: support Full disc copy & Directly Copy as well. Plus, there’re various presets available for transferring to smartphones, tablets, HD players, HDTV such as
Apple TV, Samsung Smart TV, etc.
iPhone 5S/5C/5/4S/4, Samsung Galaxy S4/Galaxy Note 2/3, HTC Desire HD, HTC One, Sony Xperia Z, Motorola Droid), on your Android tablet (including Samsung Galaxy Tab 3, Google Nexus 7/10, Amazon Kindle Fire HD, Fuhu Nabi 2, Asus Transformer Pad Infinity TF700); Apple iOS based (iPad Air/4/3/2/1/mini/mini with R) tablet, Windows tablet (like Microsoft Surface RT).
FYI: if you want to obtain multiple audio tracks after transcoding, try this
Pavtube ByteCopy for Mac.
How to: load disc and choose preset from the column on left, or simply search for your device model.
2. Support most camera/camcorder models and Editing programs
iMedia Converter for Mac helps you convert videos (*.ts, *.mts, *.m2ts, *.tp, *.trp, *.mov, *.mod, *.tod, *.mxf (partial), *.dv, *.vob, *.m2v, *.tivo *.avi,*.divx, *.mpg, *.mp4, *.m4v, *.mov, *.qt, *.wmv, *.asf, *.3gp, *.3g2, *.rm, *.rmvb, *.dat *.mkv, *.nut, *.nsv, *.flv, *.f4v, *.h.264) and audio files (*.m4a, *.wma, *.wav, *.mp3, *.mp2, *.au, *.flac, *.mka, *.aac, *.ogg, *.aiff, *.ra, *.ram, *.dts)) to various formats as below:

Besides, iMedia Converter for Mac well support
Canon/
Sony/
Panasonic/Nikon, part of JVC footages and convert them to best videos codec for different NLEs including: Apple ProRes for
Final Cut Pro, DNxHD for Avid Media Composer, Apple InterMediate Codec (AIC) for iMovie/Final Cut Express; well support Adobe Premiere Pro, Apple Aperture 3, Kdenlive, Keynote, Avid Xpress Pro, Adobe Creative Suite 6, Adobe After Effects CS6, DaVinci Resolve, iPhoto as well as QuickTime MOV.
3. Support universal video formats
Mac version also support most mainstream video formats including a wide range of HD and SD video files, like MTS, M2TS, TOD, MOD, MOV, WMV, MP4, TiVo, FLV, some MXF files, etc that are downloaded online and recorded by camcorders, and convert them to AVI, MP4, WMV, FLV, RMVB, MPEG, 3GP, MKV, MP3, AAC, etc. for playback.
Video Editor features
1) Trim and crop DVD/Blu-Ray/video clips
Trim function helps you select wanted movie scenes to rip or convert at will and leave out unwanted in saved videos. Crop function enables you to cut off the black bars and unwanted area of the source movie easily.
2) Merge multiple video clips into one file
Tick this Merge into one file box and Pavtube application helps combine several selected video clips into one big file and convert it to your desired video format.
3) Split one large file into smaller pieces
Using the Split function, you can split the selected video file into required several smaller video clips based on the clip quantity, duration time or file you set up.
4) Add watermark
The program supports adding text, image and video watermarks to your movie and enables you to experience better video display quality on your devices.
5) Customize volume in saved file
With this feature, you are allowed to adjust the volume in BD/DVD movie before output to make sure you receive better video and audio entertainment.
6) Add *.srt and *.ass subtitles into video
Pavtube iMedia Converter for Mac now supports adding *.srt and *.ass subtitle into video and merge them into video part.
Note: Once you have merged subtitle text and video into one file, the subtitles would be hard subtitles and become a part of video, in other word, you cannot turn it on or off during playback.
How to: load disc/video, click the pencil-like “Edit” icon on the top to enter the video editor window.
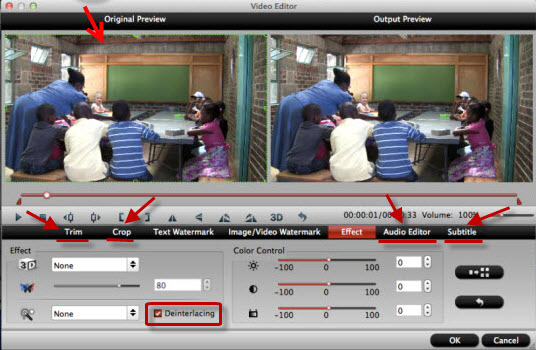
4. Deinterlacing the raw footages to get better video effect
Simple gauss blur effect is very useful to recorded file formats, since it can eliminate the recorded videos noise. If you like, you can also add other special effects including simple laplacian sharpen gray, flip color, invert, aged film and deinterlacing. What is worth mentioning is the deinterlacing, which can convert interlaced video into a progressive form so that you can enjoy a better and clearer video effect.
How to: click “Edit” as above, switch to “Effect” and check the “Deinterlacing”
5. Add 3D effect to the converted video for playback
Pavtube iMedia Converter for Mac support outputting MKV/MOV/MP4/AVI/WMV videos in Anaglyph, Side-by-Side and Top-Bottom 3D effect for playback on 3D TV, 3D video projector, etc.
How to: click “Format” and select “3D Video” column, choose the wanted video format and preset. Adjust 3D depth in “Settings”.
More Christmas Gifts are available on Pavtube
Christmas Specials 2013.
From:
http://techmovieshare.blogspot.com/2013/12/christmas-money-saving.html